
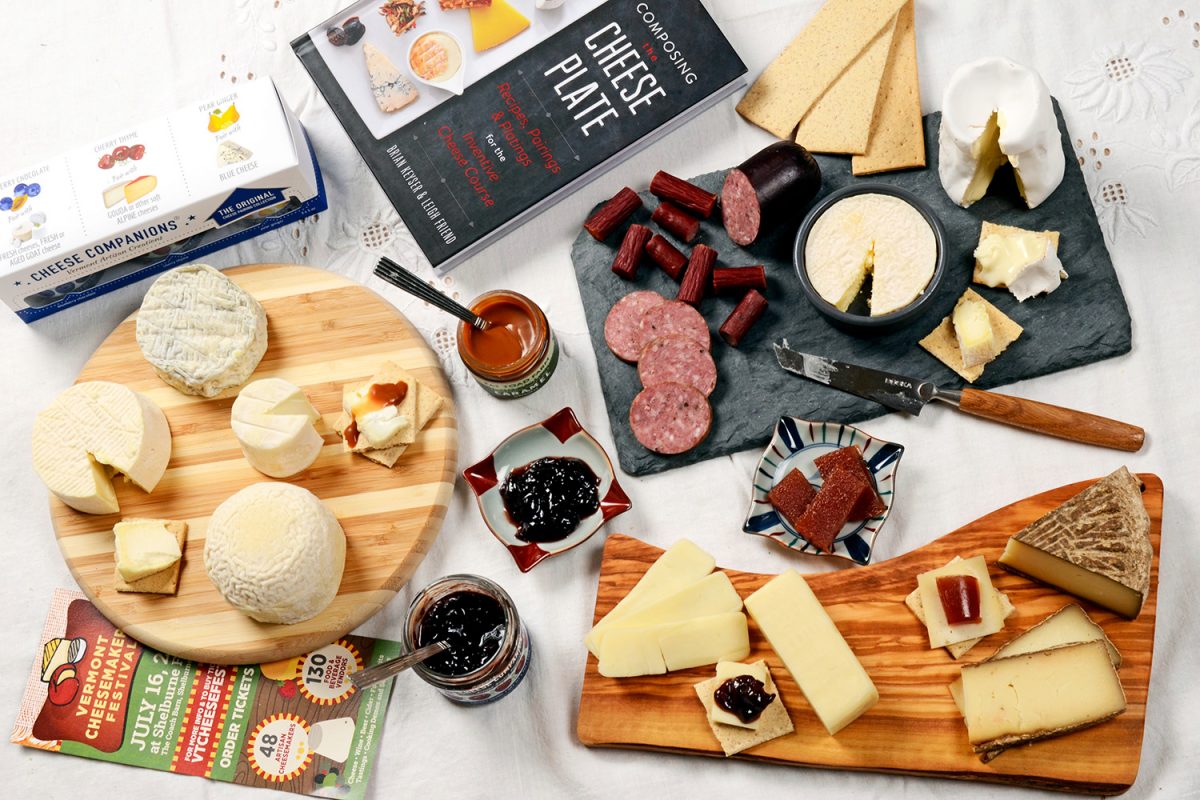
Photo taken in our photo studio
If you are a food startup, you’re probably overwhelmed and intimidated by the quality of food photography you see on social media. You probably think that you will never get to the level of other photographers and that you just don’t have the time to become an expert photographer. But you know how crucial it is to get noticed and make an impact.
Here are 10 SIMPLE tips that you can implement IMMEDIATELY and EASILY to greatly enhance the quality and impact of your images:
- Observe what resonates with you and your brand. As you scroll down your Facebook, Instagram, or Pinterest feed, take some time to understand what resonates with you, which conveys a similar “look and feel” as your own brand. It will help you create your own style. Take note of blogs with inspiring photography. Check out the Saveur food blog awards for inspiration. Some food blogs I personally like include Cottage Farm and North Wild Kitchen, and I love the Instagram feed from Hanna Argyle Photography.
- Use your smartphone. Make sure your smartphone takes nice quality photos, BUT don’t complicate your life with fancy cameras and expensive equipment (not yet anyway!). If you look at the photos your smartphone takes, you’ll notice that it takes wide-angle photos (really helpful to capture an entire scene), it has some anti-shake features (it’s pretty amazing that it is rare to have a blurred photo) and it works well in places with low light like restaurants and bars. All great features for your photos to look great, right off the bat!
- Be up close and personal. This is a lesson every photographer learns early. “Less is more”. In order to stand out, your image must be free of any clutter. Try this simple trick: as you are taking a photo, keep zooming in. You’ll be amazed at how it enhances the impact of what you’re shooting.
- Tell a story and convey emotion. To be noticed, you must connect with people. Make sure your images tell a story that touches people and is relevant for your product. For our own food business (Cheese Companion), we followed a number of cheesemakers. And we cannot help noticing how cute little goats are, and how we can never get tired of seeing them!
- Practice several shots for each scene. Take a variety of shots of the same recipe or product shot. A lot of the prep work is in the preparation of the food and in setting it up. So you might as well maximize the opportunity and learn as much as you can from your efforts. Change the light, the angle, the props, etc. and see what works the best for that particular scene.
- Understand that lighting is EVERYTHING. The right lighting is what brings out the colors and make your image interesting. It gives volume to the objects by highlighting their three-dimensionality, and it places some highlights on the most important element in your setup. If you explore food photography more seriously, you’ll also learn of the correlation between shutter speed, depth of field, and the amount of light and understand that more light gives you more options.
- Have fun with props. A well-placed prop and of the right color makes a world of difference in the impact of your photo. See what is trendy today in food photography, and you will immediately see what I mean. You don’t need expensive props though. Find original objects in garage sales and flea markets. You’ll have a lot of fun with it!
- Practice with this exercise. Choose someone else’s photography that you like and try to replicate it. That is a great way to learn! Look closely at the setup, the props, the angle, the light, etc. Play with the light. Why not choose one photograph every month to work on? (or every week if you have the time.)
- Find your own style. We touched on it in tip 1. Ultimately, this is your goal. You’re building your brand by developing a style which people will start to recognize. If you look at some nice Instagram feeds, for instance, you’ll quickly realize that their images have a consistent look, from one photo to the next. Having your own style will also simplify how much you need to learn. Your style could be to always shoot in natural light, or in artificial light, or to use the same type of set up for every shot.
- Use Canva for your social media posts. You know that you need different image sizes for the various social media, and sometimes you want to add a few words or a call of action on your images. Seems like a lot more to learn! Thankfully, Canva is a free service that offers lots of layouts for different purposes. It’s a great place to find inspiration, creative layouts, and nice font combinations.
I promised to share easy tips that can be implemented immediately.
If you want to take your food photography to the next level, here are 4 additional tips:
- Understand food photography trends. As you browse the net and social media sites, you will definitely notice that certain photography styles are currently very popular, for instance, photographing photos from above. A GREAT article on modern food photography style is “Trends in modern photography.”
- Follow one blog on food photography of your choice. As I was writing this blog post, I discovered this one. It seems interesting and I will start following it: Food Photography Blog.
- Learn from food bloggers and food stock photography sites. Think about it. As a food business, you have products to sell, and food photography is a medium to promote your products. For food bloggers and food stock photo sites, it is pretty much their livelihood! So most of them spend a great deal of energy to perfect their photography skills. Simply do a google search with the keywords “photography tips food blogger” and you will get a number of interesting articles. Some sites will also offer free tutorials (pdfs) just to expand their email list. Here are 2 examples of interesting articles: “The Serious Eats Guide to Food Photography” and “Artificial Lighting Tips for Food Photography.”
- Use a quality tripod for photos from above and get tethering software. I could talk about getting nice cameras, lighting equipment, food photography classes, and a lot of other things that will help you to be a better photographer, but I am choosing here 2 things which I believe are critical.
A quality tripod which allows you to take photos from above. Obviously a lot of food photography nowadays is shot from above. It actually took me a LONG time to realize that some tripods allow you to take shots from above. Unbelievable! I was in photo stores and they never told me about those. I searched online stores and found vertical columns which were sold to do that, but never came across an article mentioning that some tripods offer that feature. The tripod I personally have is Sunpak Pro 523PX ($149.95 at the time I write this). Amazon also has some Sunpak Pro models.
Disclosure: As an Amazon Associate, I earn from qualifying purchases.
- Tethering software. In photography, tethering is the concept of connecting your camera to your laptop. It can be a physical connection (wire) or a remote connection (wifi). It is a huge time saver when taking photos and that is the reason why I mention it here. It saves the photos you take on your laptop, where you can instantly view them and judge what needs to be modified (lighting, etc.). The one I use is “Control My Nikon” (yes, with my Nikon camera).

In Conclusion
We shared 10 tips that the busy small food business owner can quickly implement, along with some ideas on how to improve your photography skills beyond the essentials. We’d love to know what you’re doing when it comes to photography and social media if you have any questions or any tips that you would like to share below in the comment section.
Read more: see another photography project we have done.